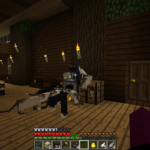
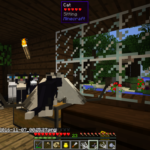
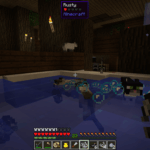
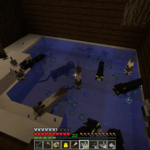
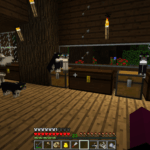
In Minecraft, I have built a house where I have 18+ cats that fight over who gets to sit on the furnace while it is running. Ahh, this is the life. It may be digital, but at least I don’t have to worry about a credit score when a Creeper destroys everything I’ve spent so much time building in one fell swoop.
Also, the cats like my fancy bathtub… and only like the regular oak chests, not the dark oak chests.
no need to be sorry~ i posted a tutorial a while ago, here! the thing with the screentones is not covered in this tutorial, but that’s basically just applying patterns to the image.
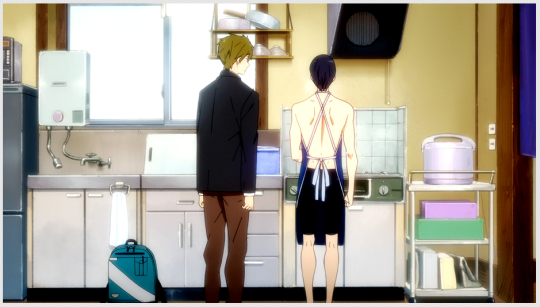
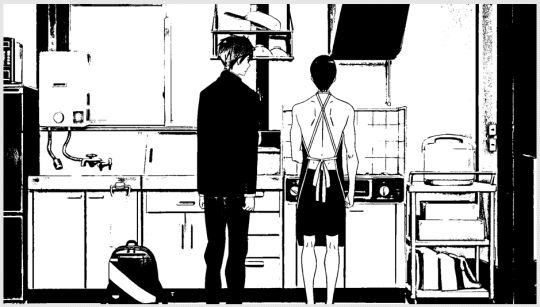
here are my steps in photoshop after i made the screencaps black and white. sometimes the images come out really shitty after you used threshold on them so make sure you have the original cap open somewhere, it will help you with redrawing and adding the screentones ?
sure! i followed a tutorial in the beginning, but the person who posted it deleted their blog, so i sadly can’t link you to the tutorial. i can try to explain it though.
there’s three ways you can go about this: photoshop or photoscape or use both. i use both, and i’m starting with photoscape.
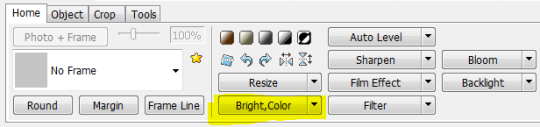
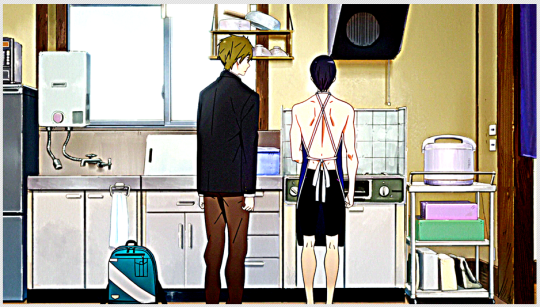
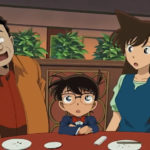
load the image into the editor:
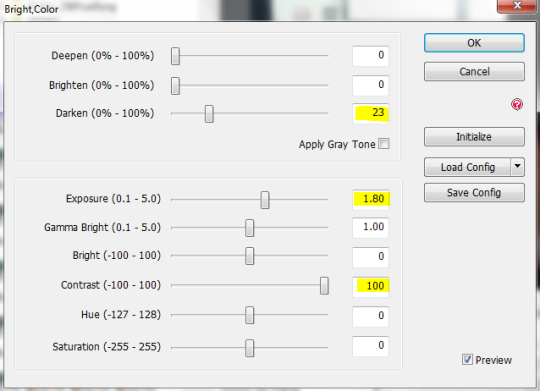
at the bottom, click onto the button that says “bright, color” (don’t click on the arrow on the right) to change the contrast of the image. it’s not mandatory to use the same values i used as it varies from image to image. you can also try to change other options, just make sure it looks kind of high in contrast at the end (make dark parts really dark and light parts really light).
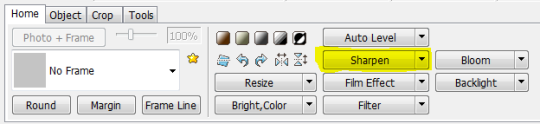
then sharpen the picture. it’s probably best if you use something along these values:
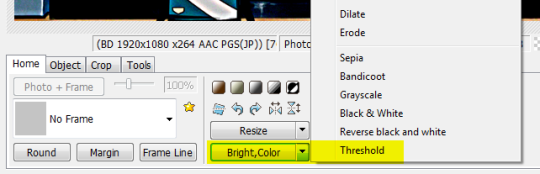
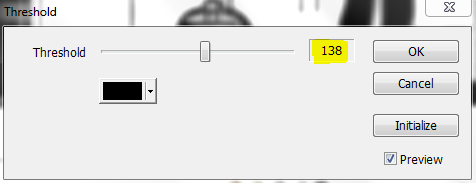
now go back to the button that says “bright, color”, but this time click on the arrow. from the list that pops up, choose “threshold” and change the value until you get a nice result.
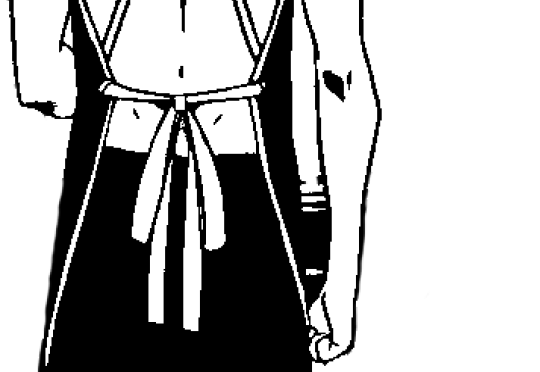
save the image and load it into photoshop. make a second layer. draw on the new layer with white over the parts that you do not want in the image
(please don’t draw on the layer of your image.)
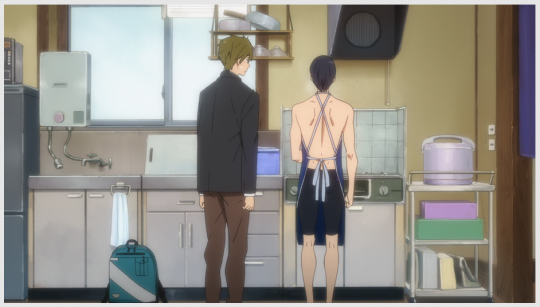
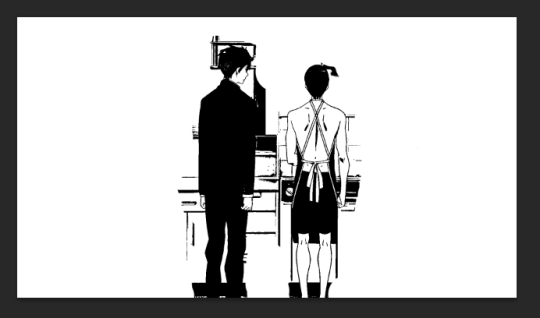
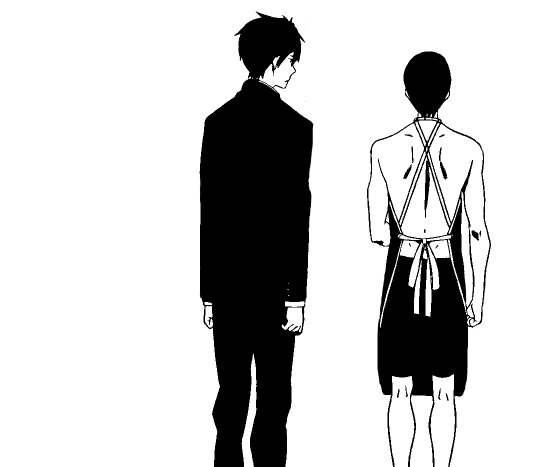
depending on how plain the background is, maybe you can even leave it. i erased it completely, and now it looks like this:
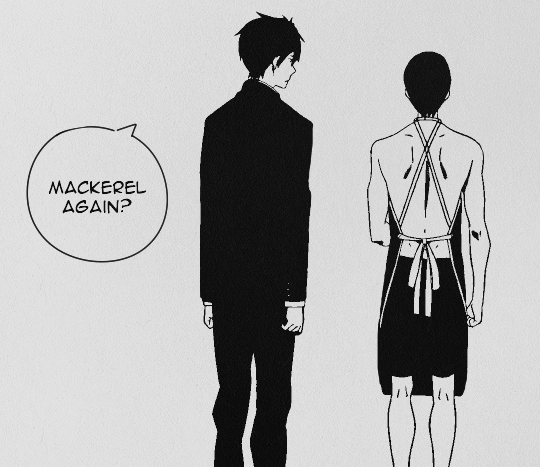
add a speech bubble (i drew this one freehand, but you might as well use a tool to draw it):
and finally, add text and textures:
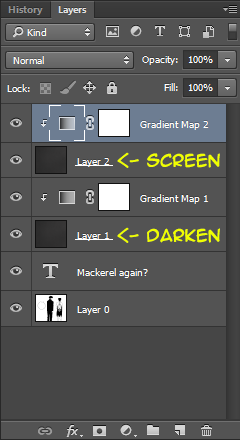
i used the same texture twice with different gradient maps. here’s what my layers look like:
and that’s basically it! like i said in the beginning, you can technically do all the steps in either photoshop or photoscape, but i find it easier and quicker to do the first steps in photoscape when you have many images, while it is easier to clean and add text and textures in photoshop afterwards.
also, it depends a lot on your caps and how much you change the contrast etc beforehand, but it can happen that you’ll have to redraw a lot. for my makoharu edit i mostly had to redraw the hair, for the rinharu edit i had to redraw a lot of little things. so… be prepared… for the redrawz